

Introduction to Hot Zone Raids
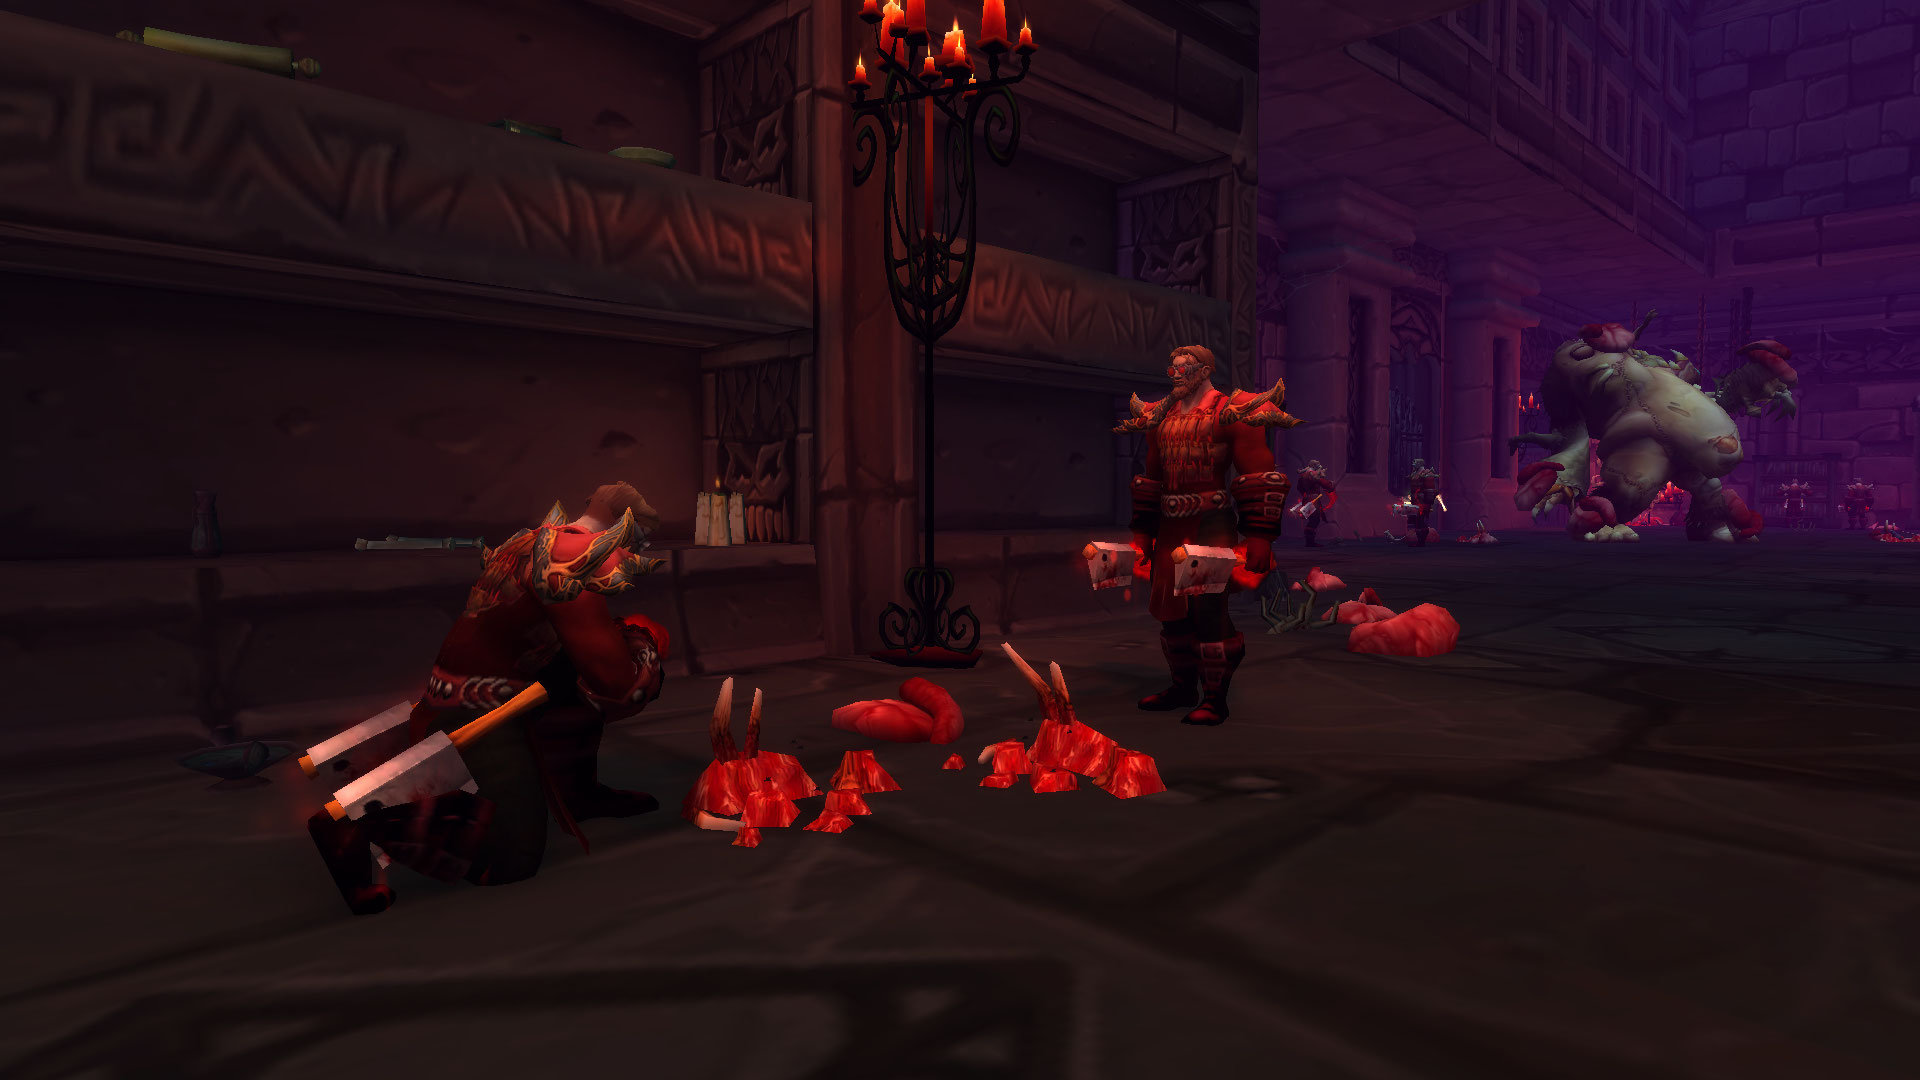
Hot zones in The War Within Season 3 are some of the most dangerous raid environments. Packed with elite mobs, volatile mechanics, and rare loot tables, these areas challenge even experienced groups. Entering a hot zone raid is easy, but surviving long enough to collect loot and exit safely is what separates skilled raiders from unprepared ones. The risks are high, but so are the rewards—rare mats, socket bundles, and prestige items make these raids worth every attempt.
This guide covers the full process of preparing for hot zone raids, from initial entry to strategies for clearing bosses and securing loot before exiting alive. With careful planning, these high-risk areas become some of the most rewarding content in Season 3.
Preparation Before Entry
Preparation is critical for hot zone raids. Every raider should arrive with consumables, optimized gear, and sockets enhanced for maximum efficiency. Warband banks make this easier by allowing shared resources across alts, ensuring everyone comes prepared. Beyond consumables, reviewing boss mechanics ahead of time reduces unnecessary wipes and saves valuable time once inside.

Raid leaders should assign specific responsibilities before entry—such as interrupt rotations, defensive cooldown usage, and puzzle-solving roles. With a solid plan in place, raids run smoothly and loot collection is far more efficient.
Survival Strategies Inside Hot Zones
Survival depends on awareness, positioning, and coordination. Many hot zone bosses employ one-shot mechanics or summon waves of adds that can overwhelm unprepared groups. Tanks must manage positioning to keep dangerous abilities away from DPS and healers. Healers should anticipate burst damage phases, while DPS focus on eliminating adds quickly to reduce incoming pressure.

Team communication is vital—clear callouts ensure mechanics are handled efficiently. Groups that maintain discipline survive longer, clearing encounters without excessive deaths that reduce loot potential.
Hot Zone Raid Priorities
| Phase | Objective | Survival Focus |
|---|---|---|
| Entry | Secure first safe zone | Control mobs + establish positioning |
| Mid-Boss Fights | Defeat elite encounters | Interrupt chains + AoE add control |
| Loot Phase | Collect fragments and caches | Assign looters + maintain guard |
| Exit | Clear final patrols | Save defensives for retreat |
This breakdown shows how each phase requires different focuses. By approaching hot zone raids systematically, players maximize loot while minimizing risks.
Discipline at every step ensures your group exits alive, carrying rewards that make the danger worthwhile.
Exit and Loot Security
Exiting a hot zone raid safely is just as important as surviving the fights themselves. Many raids feature final patrols or hidden ambush mechanics designed to punish unprepared groups. Saving key cooldowns for the retreat phase ensures you escape with loot intact. Assigning guards during loot collection also prevents accidental wipes while players are distracted.

Groups that underestimate the exit phase often lose hard-earned progress. Treat the retreat as seriously as the entry, and you’ll walk away with loot that cements your Warband’s progression.
Conclusion
Hot zone raids in The War Within Season 3 are high-risk, high-reward challenges. By preparing thoroughly, coordinating survival strategies, and treating the exit as seriously as the entry, you ensure every raid ends with loot and achievements secured. Persistence and discipline transform dangerous zones into reliable sources of progression.
Approach hot zone raids strategically, and they become one of the most rewarding experiences of the season—providing both prestige and powerful rewards for your Warband.